Tayl r Made
Greeter Station Tutorial
Step 1: Navigate to TM Frontman's Greeter Station
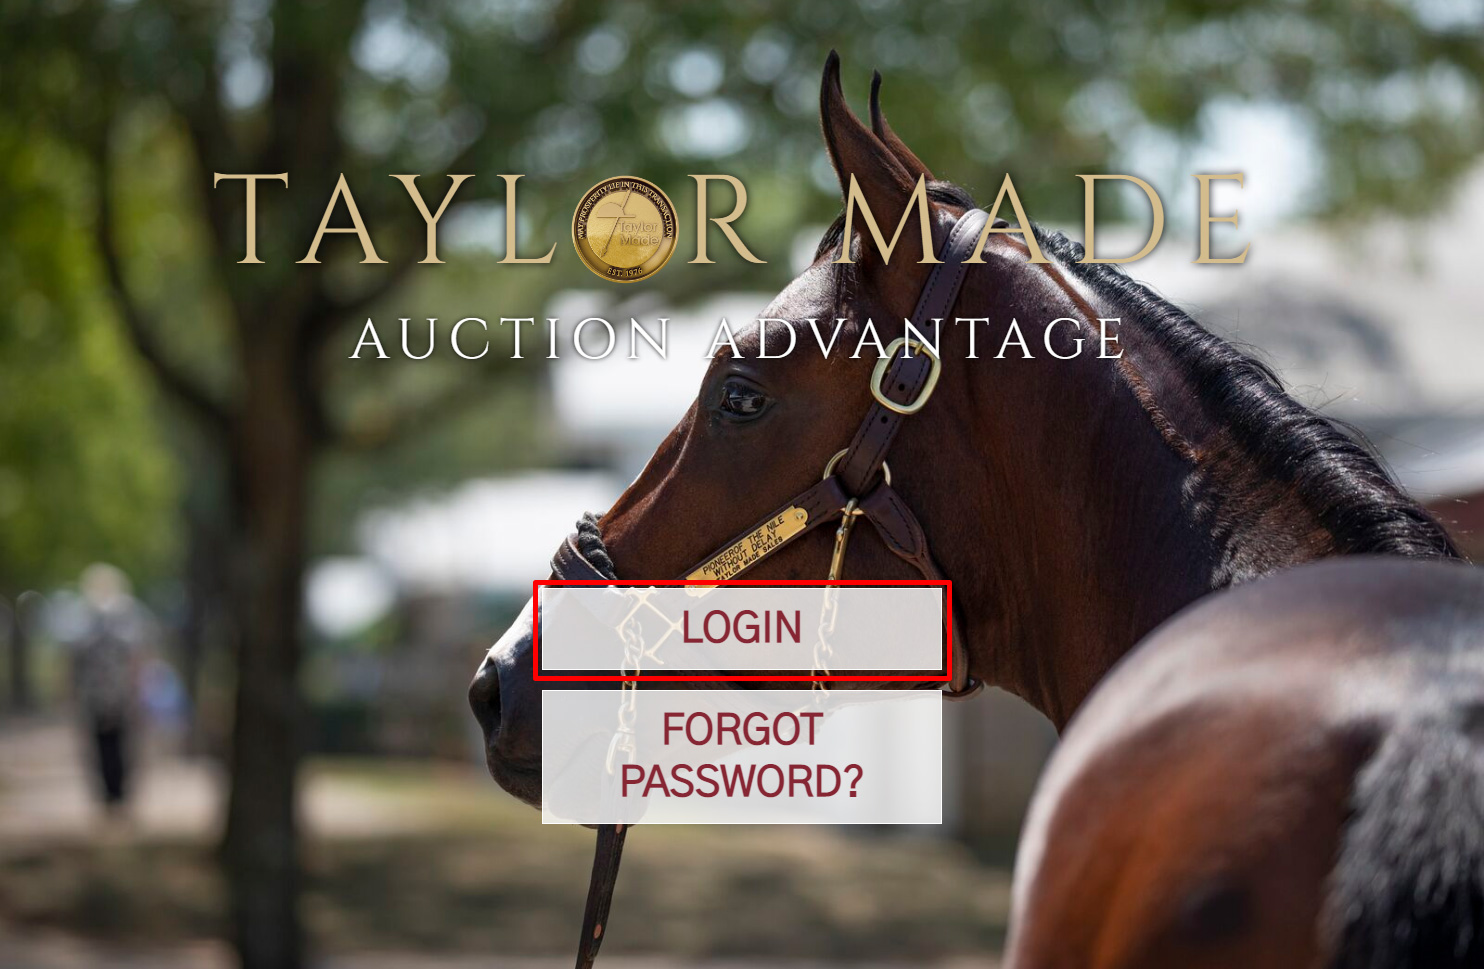
To log into TM Frontman's Greeter Station, in your web browser navigate to https://www.tmfrontman.com/greeter_station
To login select the Login button. A modal will appear requesting your username and password. Enter your credentials and select Login. You will then be redirected to the Greeter Station's Sale Selection.
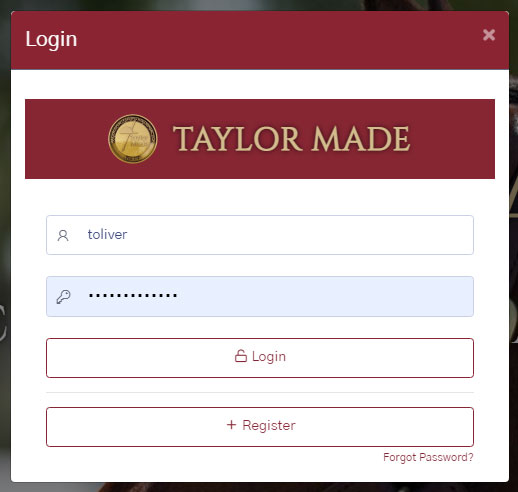
Login Modal
Step 2: Select Your Sale
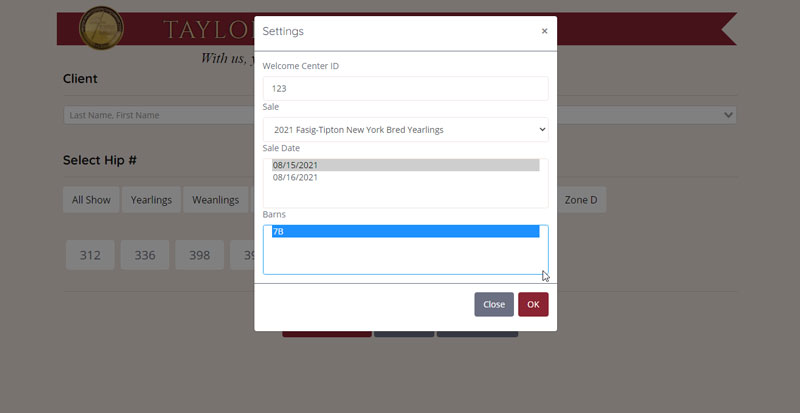
Once you have logged in, select your sale by filling out the following inputs:
- Welcome Center ID
- Sale: Use the dropdown to select your current sale.
- Sale Date
- Barns
After completing the form, select Ok to be redirected to the Greeter Station. If you have selected the wrong information after submitting, you may click the Settings button to update the information.

Settings Button: Select to change your sale.
Step 3: Create a Card
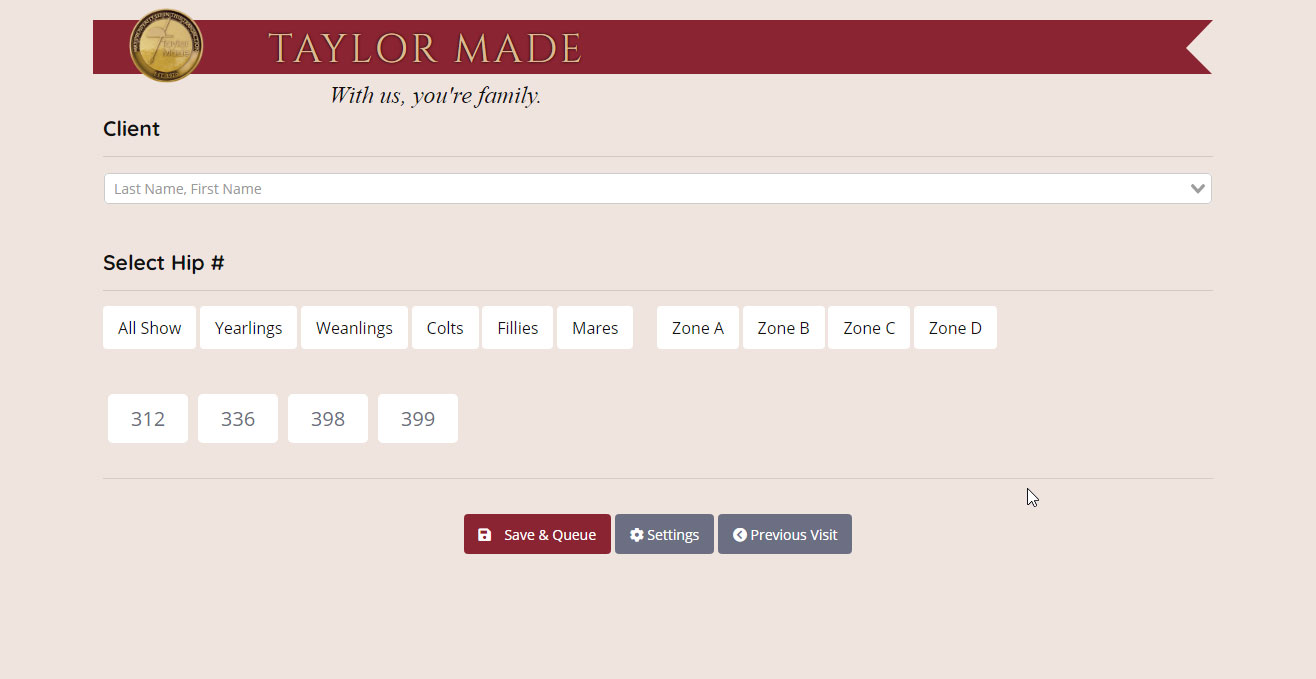
Select the Client Name by typing in their first name or last name. There are 3 different methods that you can use to search the client:
- Last Name, First Name: The name listed before the comma is set to be searched as a Last Name and after the comma searches against First Names. Using initials for the first name can also be used. For example, using Worley, D will look up anyone whose first name starts with a D and last name matches Worley.
- First Name Last Name: This method utilizes spaces, but no commas. If a space is used in the query it will search first name and then last name. D Worley would work as an example of this method.
- Last Name: If there are no commas or spaces used in the query the search will only compare last names to the query.

Name Selection Dropdown: Search using method 2.
If there are no current clients you can create a new client by selecting Create Client.

Fill out the following information for a new client:
- First Name
- Middle Name
- Last Name
- Nickname
If the client has already visited the current sale you may reopen their previous card by selecting the button labeled Previous Visit. This will pull up the client's previous visit the sale and pre-select Hip #s.

Previous Visit Button
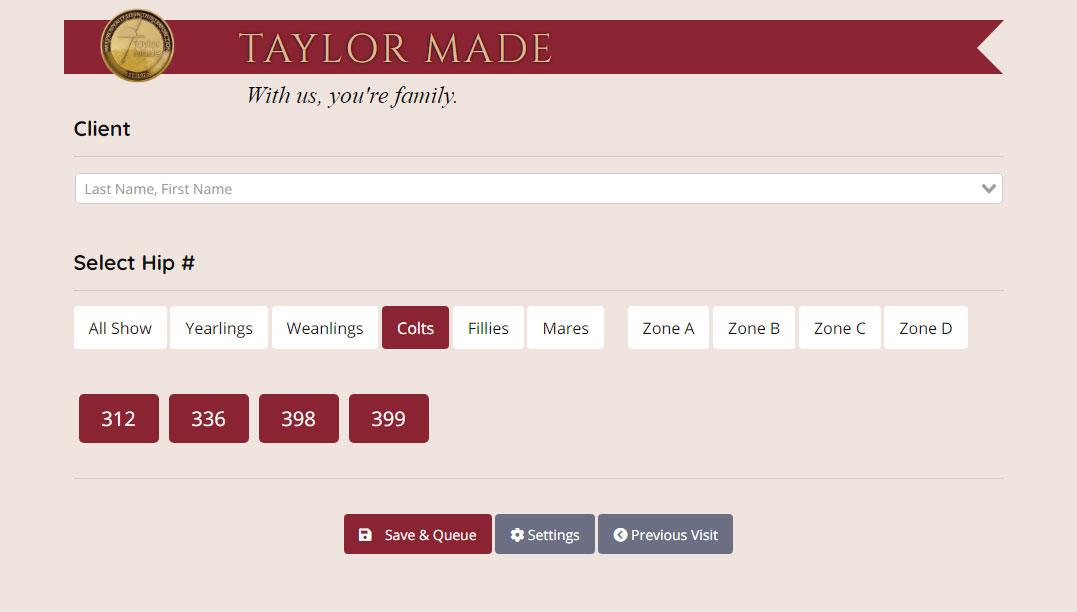
Card with selected hip #s.
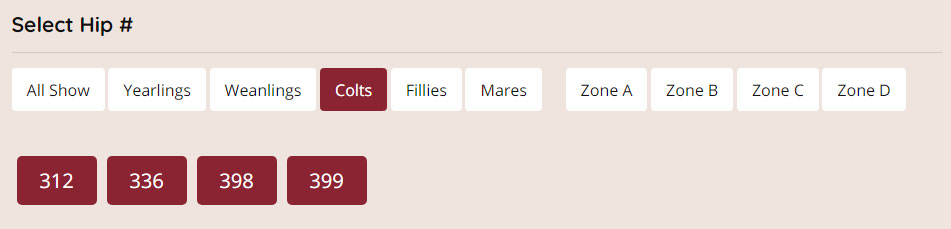
Step 3.1: Select Hip #s
After selecting the client, the next step is to begin selecting the hip number. There are 2 options:
- Select Hips Manually by tapping the appropriate Hip #
- Select Hips via Filter by selecting All Show, Yearlings, Weanlings, Colts, Fillies, Mares, or by Zones.
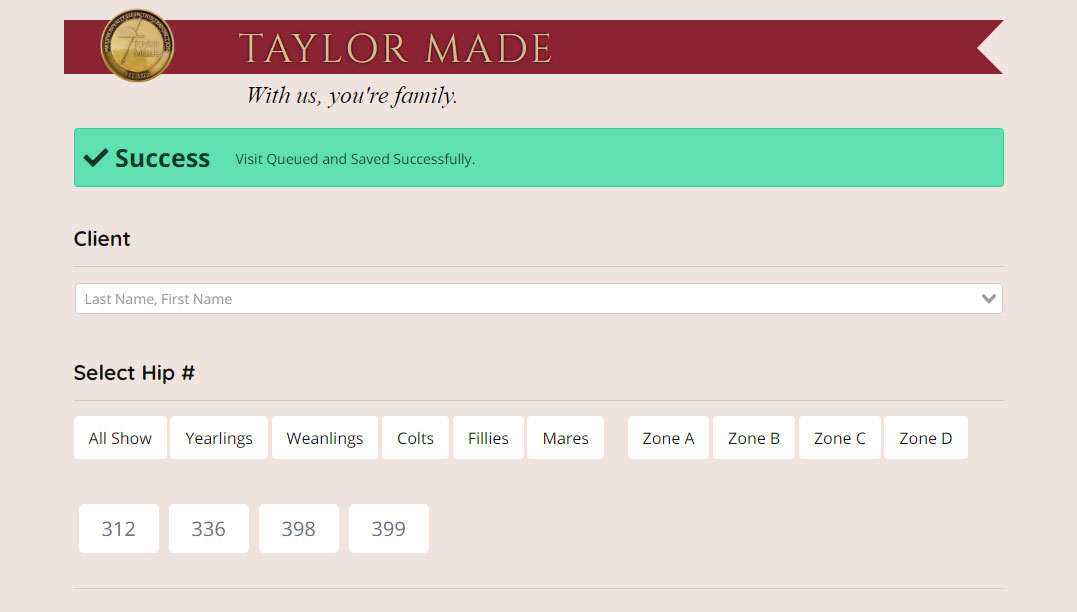
Completed Card Success Message
Step 4: Save & Queue
After selecting the client and hip #s, select Save & Queue to add the visitor in the sale queue.